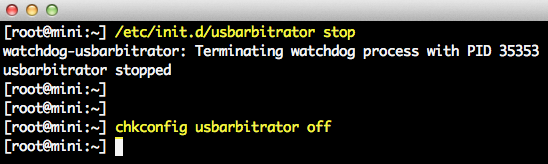
Step 1 - Disable the USB Arbitrator service so that USB devices can been seen by the ESXi host by running the following two commands in the ESXi Shell:
/etc/init.d/usbarbitrator stop
chkconfig usbarbitrator off
chkconfig usbarbitrator off
Step 2 - Enable the following ESXi Advanced Setting (/VSAN/AllowUsbDisks) to allow USB disks to be claimed by VSAN by running the following command in the ESXi Shell:
esxcli system settings advanced set -o /VSAN/AllowUsbDisks -i 1
Step 3 - Connect your USB-based disks to your ESXi host (this can actually be done prior) and you can verify that they are seen by running the following command in the ESXi Shell:
vdq -q
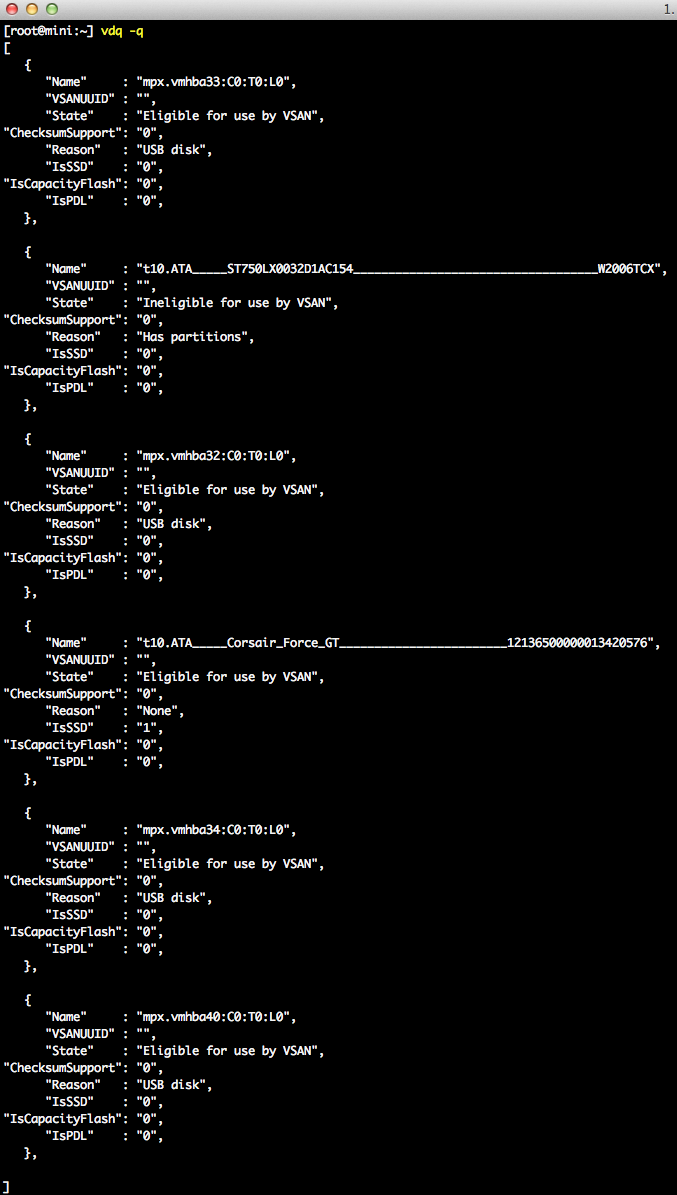
Step 4 - If you are bootstrapping vCenter Server onto the VSAN Datastore, then you can create a VSAN Cluster by running "esxcli vsan cluster new" and then contribute the storage by adding the SSD device and the respective USB-based disks using the information from the previous step in the ESXi Shell:
esxcli vsan storage add -s t10.ATA_____Corsair_Force_GT________________________12136500000013420576 -d mpx.vmhba32:C0:T0:L0 -d mpx.vmhba33:C0:T0:L0 -d mpx.vmhba34:C0:T0:L0 -d mpx.vmhba40:C0:T0:L0
If we take a look a the VSAN configurations in the vSphere Web Client, we can see that we now have 4 USB-based disks contributing storage to the VSAN Disk Group. In this particular configuration, I was using my Mac Mini which has 4 x USB 3.0 devices that are connected and providing the "MD" disks and one of the internal drives that has an SSD. Ideally, you would probably want to boot ESXi from a USB device and then claim one of the internal drives along with 3 other USB devices for the most optimal configuration.

No comments:
Post a Comment